Auth0を使って、ログイン・ログアウトの実装を試してみます。
アカウントの作成
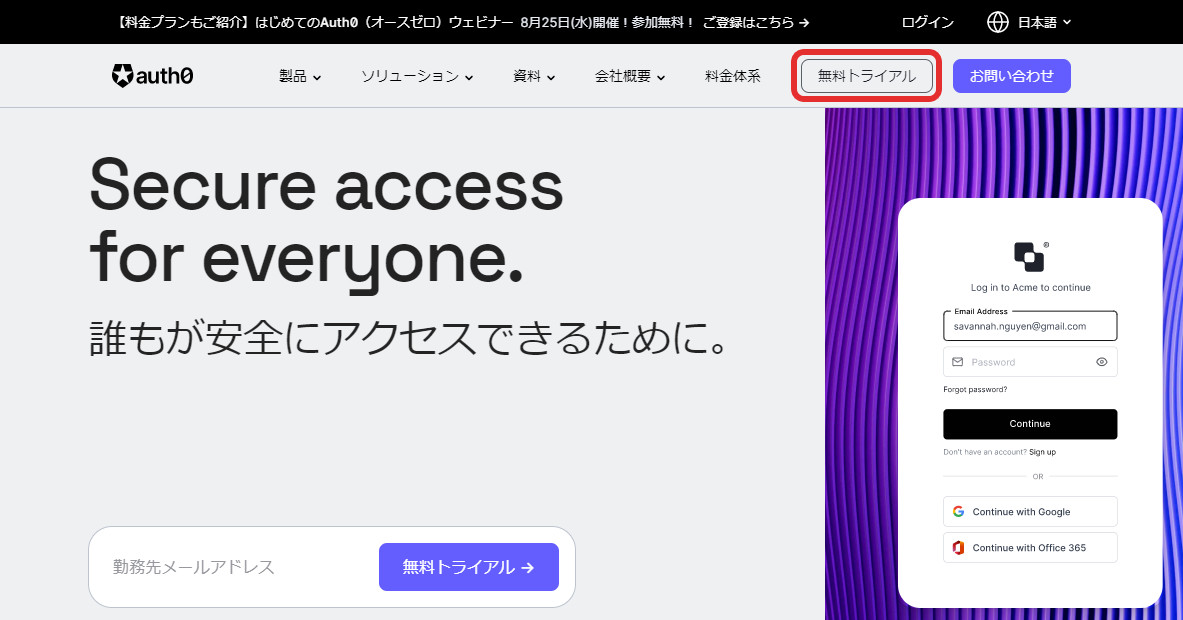
公式サイトにアクセスして、上部の無料トライアルをクリックします。
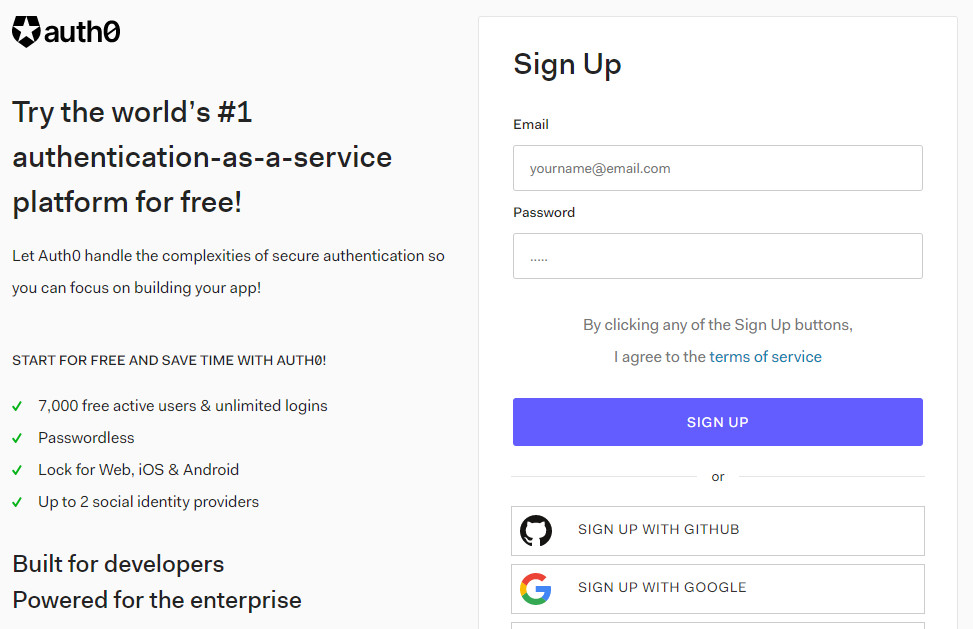
メールアドレスとパスワードを入力してアカウント登録します。
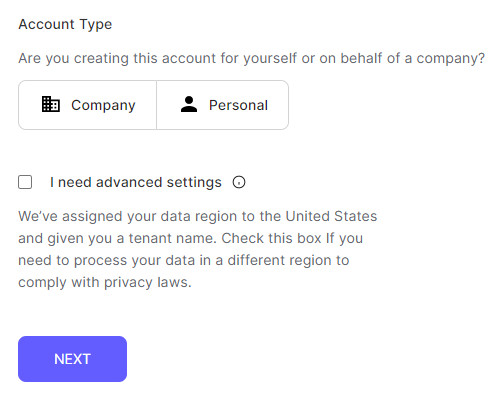
アカウントの種類が会社か個人かを選択します。
これでアカウントの作成ができました。
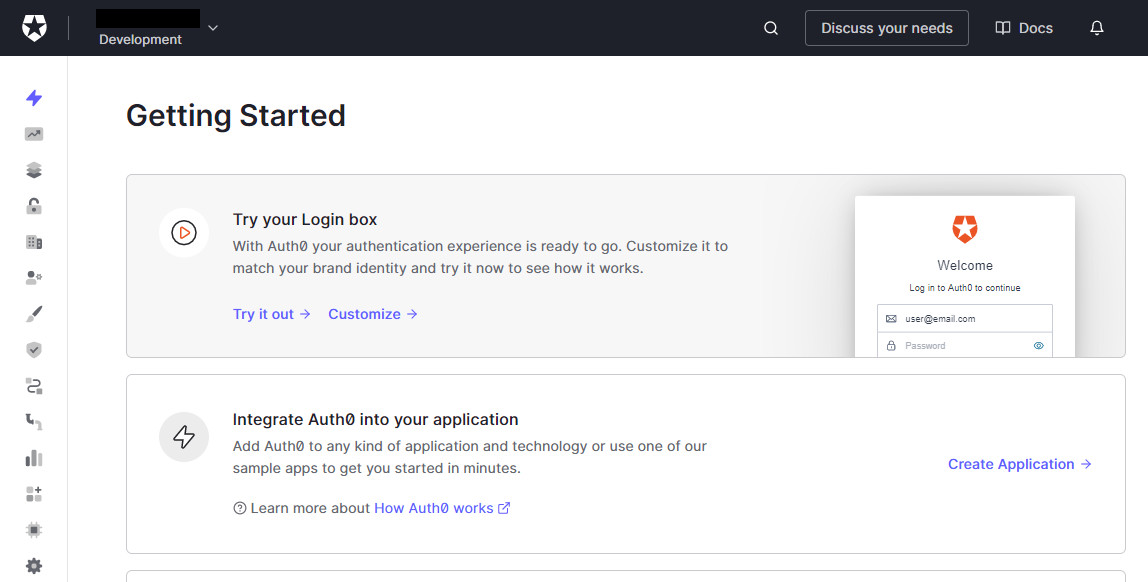
アプリケーションの設定
左メニューのApplicationsを選択します。

Default Appを選択します。

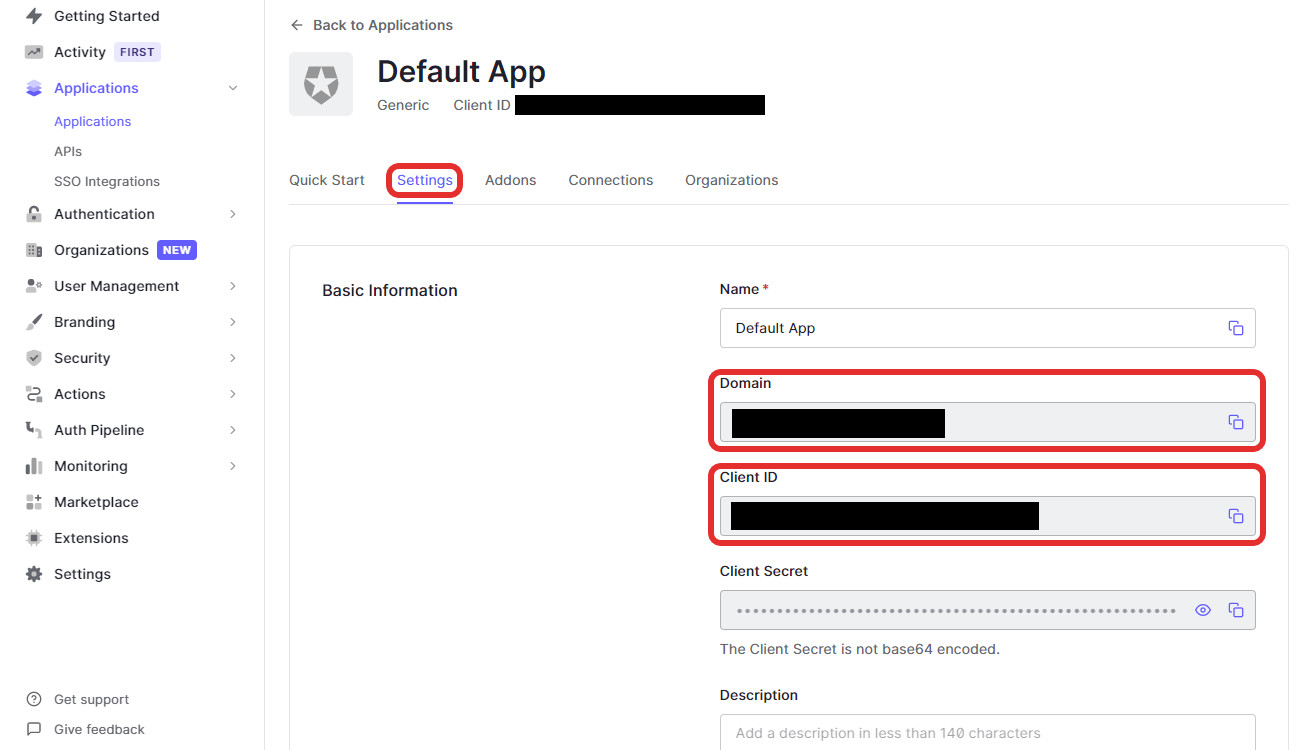
Settings > Basic Information のDomainとClient ID項目をコピペしておきます。
同じくSettings の Application Properties で、Application Type をSingle Page Applicationに変更します。
その際、その下のToken Endpoint Authentication MethodがNoneに切り替わると思いますが、そのままで大丈夫です。

次にApplication URIsのAllowed Callback URLs、Allowed Logout URLs、Allowed Web Originsをそれぞれ設定します。
今回はローカル環境で同一URLで試すので「http://localhost:3000」と設定します。

変更後、ページ下部のSave Changesをクリックして保存します。
実装
実装する上でローカルサーバが必要になります。
公式のドキュメントではExpressJSを使用していますが、Browsersyncなどでも問題なさそうなので、適宜準備してください。
Browsersyncに関しては以前に記事を記載していますので、合わせてご確認ください。
プロジェクトルートにauth_config.jsonという名前でファイルを設置して、先ほどコピーしたDomainとClient IDを設定します。
{
  "domain": "Domainをここに入れる",
  "clientId": "Client IDをここに入れる"
}
同じくプロジェクトルートにindex.htmlを設置します。
<button id="btn-login" disabled="true" onclick="login()">Log in</button>
<button id="btn-logout" disabled="true" onclick="logout()">Log out</button>

<p><strong id="status">ログアウト中です。</strong></p>
<p>Access token:<pre id="access-token"></pre></p>
<p>User profile:<pre id="user-profile"></pre></p>

<script src="https://cdn.auth0.com/js/auth0-spa-js/1.13/auth0-spa-js.production.js"></script>
<script src="/js/app.js"></script>
/js/app.jsを以下の内容で設置します。
var auth0 = null;

window.onload = async function() {
  await configureClient();

  updateUI();

  const isAuthenticated = await auth0.isAuthenticated();

  if (isAuthenticated) {
    return;
  }

  const query = window.location.search;
  if (query.includes("code=") && query.includes("state=")) {
    await auth0.handleRedirectCallback();
    updateUI();
    window.history.replaceState({}, document.title, "/");
  }
}

// auth_config.jsonの情報取得
function fetchAuthConfig() {
  return fetch("/auth_config.json");
}

// 認証を実行
async function configureClient() {
  const response = await fetchAuthConfig();
  const config = await response.json();

  auth0 = await createAuth0Client({
    domain: config.domain,
    client_id: config.clientId
  });
}

// 画面のアップデート
async function updateUI() {
  const isAuthenticated = await auth0.isAuthenticated();

  document.getElementById("btn-logout").disabled = !isAuthenticated;
  document.getElementById("btn-login").disabled = isAuthenticated;

  // ログイン時
  if (isAuthenticated) {
    document.getElementById("status").innerHTML = 'ログイン中です。';

    document.getElementById(
      "access-token"
    ).innerHTML = await auth0.getTokenSilently();

    document.getElementById("user-profile").textContent = JSON.stringify(
      await auth0.getUser()
    );
    const claims = await auth0.getIdTokenClaims();


  } else {
    document.getElementById("status").innerHTML = 'ログアウト中です。';
  }
}

// ログイン時の処理
async function login() {
  await auth0.loginWithRedirect({
    redirect_uri: window.location.origin
  });
  // ポップアップで表示する場合
//  await auth0.loginWithPopup();
}

// ログアウト時の処理
function logout() {
  auth0.logout({
    returnTo: window.location.origin
  });
}
基本的には公式ドキュメントの内容とほぼ同じ処理のため、解説などはそちらを参照ください。
一通り作業が完了したので、プロジェクトディレクトリでローカルサーバを起動後、http://localhost:3000/を確認してみます。
以下のように表示されていればOKです。
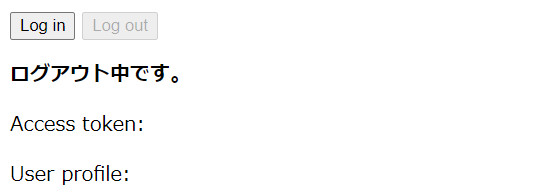
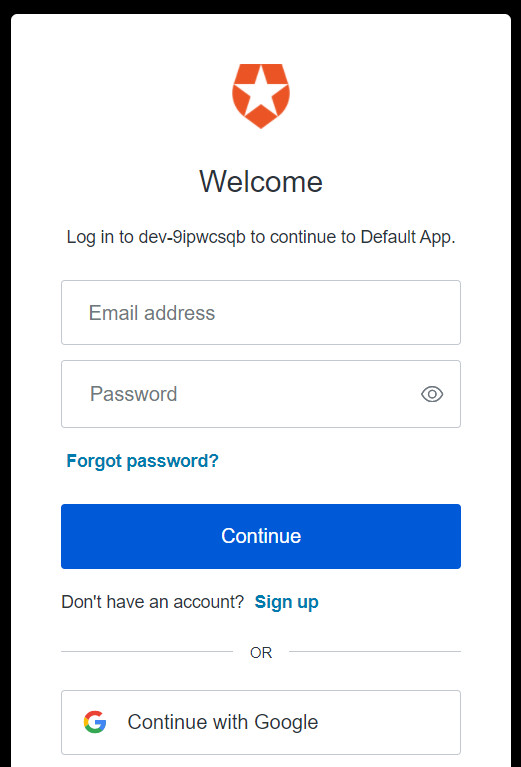
Log inをクリックすると、以下のような画面に遷移します。
Sign upをクリックして、ユーザーを作成します。
ユーザーを作成してアプリの認証を許可すると、元のhttp://localhost:3000/に戻り、ログイン状態の表示に変更されました。

Log outをクリックするとログアウトします。
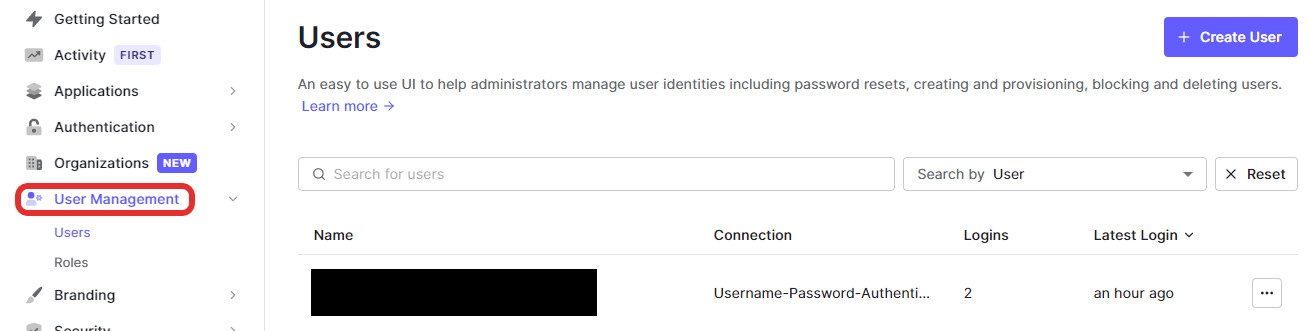
登録したユーザーは、Auth0の左ナビのUser Management > Usersから確認できます。
コメントが承認されるまで時間がかかります。